Throughout this past week, we’ve reworked and shifted our pipeline around to evenly divide the workload amongst ourselves better. This shift has allowed each of us to spend more time on the things we specialize in and has allowed us to get a lot more work done.
Instead of Shot_060 being primarily done in Houdini, Julian and I have split the rendering and lighting between Blender and Houdini. I’ve done the geometry processing and animation in Houdini and exported that over as an alembic file to blender so Julian can do all of the look development and rendering.
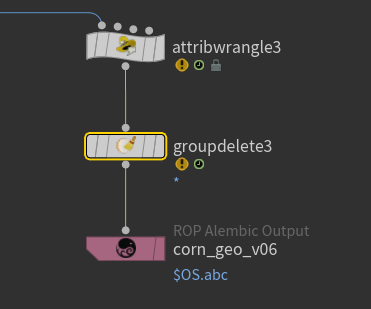

Here’s what the standard setup is like. In the wrangle and group delete, I clean up the groups and delete unneeded attributes along with correcting the name attribute so it can be exported correctly to blender. Its important to have build hierarchy from attribute enabled so the geometry is exported in the right order and individually, especially in a case like this scene where there are hundreds and thousands of individual kernels and popcorn pieces.
Because of the pipeline shift, i’ve had to rework my stage and rendering setup. Thanks to the rework, i’ve been able to make it a much faster process than what it was before, and caching out my render ROPS has been a lot quicker. Previously, I kept running into RAM issues when caching out my ROPS. Now that we’ve cut down the scene, i’ve been able to remove a lot of the materials and reduce the geometry so I can just use the geometry as mattes for my FX renders.
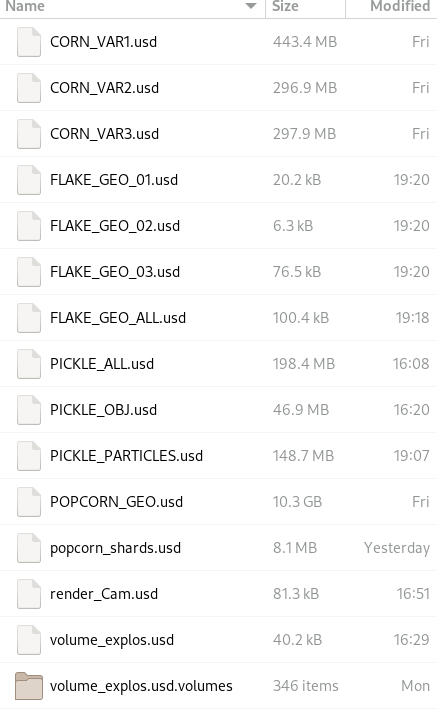
Every piece of geometry is split into its own asset, along with all of their materials and surface attributes. This makes it super easy to iterate and build up my stage into layers where I can go in and pick and choose what to render and include in my passes.
Here’s and early pipeline test, where the FX were rendered in Karma and the rest of the geometry in Blender.
Along with changing our pipeline up a bit, I’ve also been iterating on the FX as well.
One of the critiques we got was regarding the slow motion, timing, and camera angles of the shot. After receiving new camera animation from blender, I re simmed the explosion and pyro based off of the new angle. Instead of the scene coming to a complete stop, it now goes into slo motion for a bit.
The pickle explosion has been reworked now as well, in order to make it seem more like flakes and flavoring.
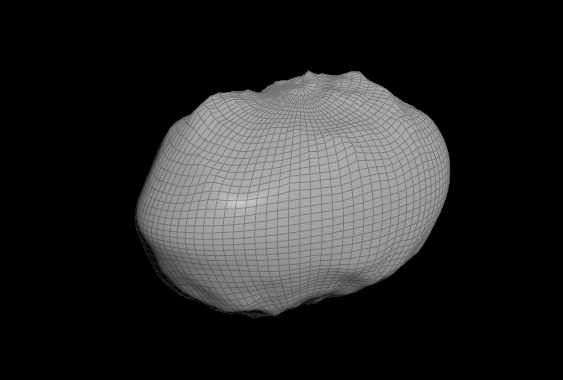
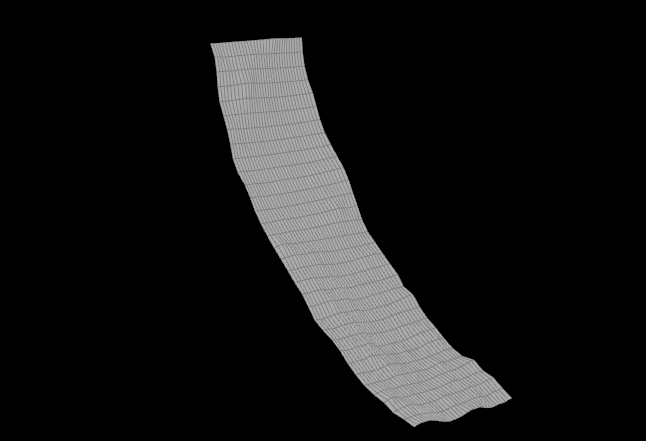
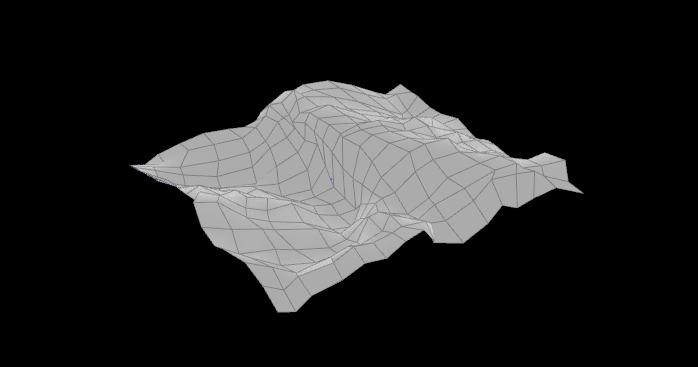
I created a bunch of small “flakes” all at varying sizes, giving them each their own identifying attributes. Each of these flakes are then exported into their own .usd file so I can reference them later in my stage.
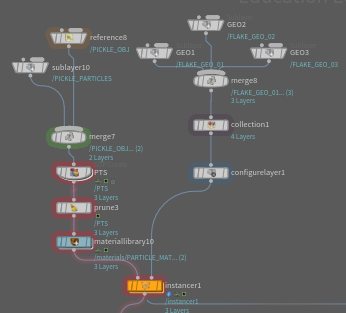
After bringing all of them into my stage I make a collection out of them, which I then use to instance along the points from the pickle explosion POP simulation.
One of the problems I ran into when trying to bring this into Solaris was the amount of RAM it was consuming when caching out the ROP. To fix this, I created a camera frustrum to cull the points outside of the camera view.
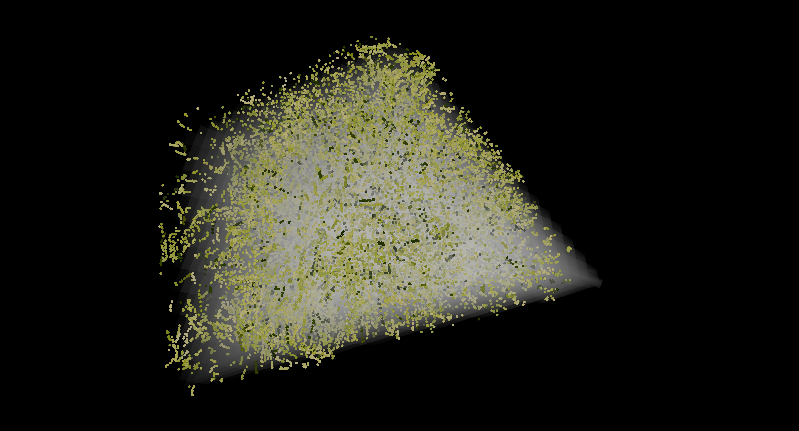
Culling the points probably saved me about 50% of caching time due to the amount of geometry it needed to process being cut significantly. A large portion of time of creating this effect was the troubleshooting and optimization, and getting it to work in Solaris.
I’ve also spent a bit of time re simulating the pyro, and making it trail from the popcorn more. One of the initial problems with the simulation was that I was working at such a small scale, so i required a really low voxel size to get any detail.
I decided to scale up the effect by a factor of 5, in order to get more detail and accurate simulation at better speeds. One tricky part has been getting the pyro retime to look good, i’m currently simming at 2 substeps but I think i will need to increase that a bit to get a smoother result during the slo motion portion.
Leave a Reply